

Dessert
Air Fryer Chocolate Cake with Chocolate Ganache
1 Std. 15 Min.Für 8Nutri-Score D€
 1 Std. 15 Min.
was Sie brauchen
 egg (large, at room temperature)Andere1 Stück
 granulated sugar (for the cake)Vorräte200 g
 fresh milk (for the cake)Milchprodukte120 mlcooking oil (any neutral cooking oil)Vorräte120 mlwhite vinegarVorräte15 ml
 all purpose flour (sifted)Getreide135 gunsweetened cocoa powder (for the cake)Vorräte35 gbaking sodaVorräte5 g
 salt (for the cake)Gewürze3 ggranulated sugar (for the ganache)Vorräte100 gcocoa powder (for the ganache)Vorräte35 gsalt (for the ganache)Gewürze1 gcornstarchVorräte15 gfresh milk (for the ganache)Milchprodukte240 ml
 butterMilchprodukte15 g
pro Portion
322kcal
was Sie verwenden
 Heißluftfritteuse
 Rührschüssel ×2
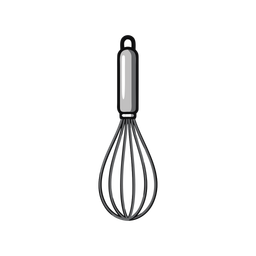 Schneebesen
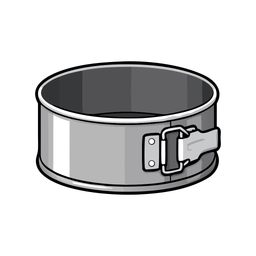 Kuchenform
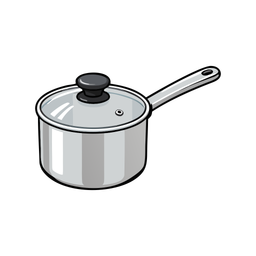 Stielkasserolle
 Sieb
Schritt für Schritt
Preheat the air fryer
Make the cake batter
Bake the cake
Cook the chocolate ganache
Finish the cake
meistgekochte zuerst
1 Std.@yeastmode.ph
7 Std. 30 Min.@yeastmode.ph
2 Std. 30 Min.@yeastmode.ph
40 Min.@yeastmode.ph
45 Min.@yeastmode.ph
45 Min.@yeastmode.ph