

Bakery
Cheesy Garlic Bread Rolls
2 hServes 12Nutri-Score D€€
 2 h
what you need
 warm water (warm)Other240 ml
 instant yeast (1 packet)Pantry7 g
 sugarPantry25 g
 butter (melted, for the dough)Dairy57 g
 egg (room temperature)Dairy1 piece
 flour (plus more as needed)Grains375 g
 garlic powderSpices1.6 g
 dried oreganoSpices500 mgdried basilSpices500 mgdried parsleySpices500 mgonion powderSpices600 mg
 saltSpices6 gbutter (room temperature, for the filling)Dairy113 g
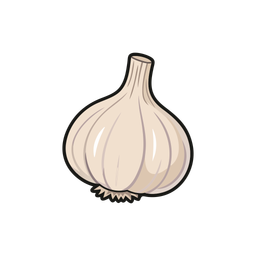 garlic (cloves, minced)Produce9 pieces
 fresh parsley (chopped)Produce1 gdried basil (for the filling)Spices300 mgdried oregano (for the filling)Spices300 mg
 mozzarella (grated)Dairy150 g
per serving
236kcal
what you’ll use
 Mixing bowl ×2
 Baking dish
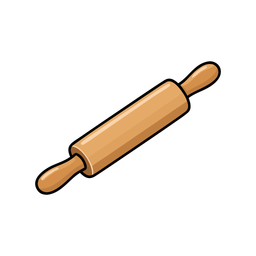 Rolling pin
 Pastry brush
step by step
Activate the yeast
Make the dough
Let the dough rise
Prepare the garlic filling
Fill and roll the dough
Second rise
Bake
Brush and serve
most cooked first
45 min@sugarspiceddreams
40 min@sugarspiceddreams
30 min@sugarspiceddreams
45 min@sugarspiceddreams
2 h 30 min@sugarspiceddreams
1 h@sugarspiceddreams


