

Deser
Air Fryer Chocolate Cake with Chocolate Ganache
1 godz. 15 minPorcje: 8Nutri-Score D€
 1 godz. 15 min
przepis od
@yeastmode.ph
 8 przepisów
 9 importów
 ugotowano 0 razy
czego potrzebujesz
 egg (large, at room temperature)Inne1 kawałek
 granulated sugar (for the cake)Spiżarnia200 g
 fresh milk (for the cake)Nabiał120 mlcooking oil (any neutral cooking oil)Spiżarnia120 mlwhite vinegarSpiżarnia15 ml
 all purpose flour (sifted)Produkty zbożowe135 gunsweetened cocoa powder (for the cake)Spiżarnia35 gbaking sodaSpiżarnia5 g
 salt (for the cake)Przyprawy3 ggranulated sugar (for the ganache)Spiżarnia100 gcocoa powder (for the ganache)Spiżarnia35 gsalt (for the ganache)Przyprawy1 gcornstarchSpiżarnia15 gfresh milk (for the ganache)Nabiał240 ml
 butterNabiał15 g
na porcję
322kcal
czego użyjesz
 Frytkownica beztłuszczowa
 Miska ×2
 Trzepaczka
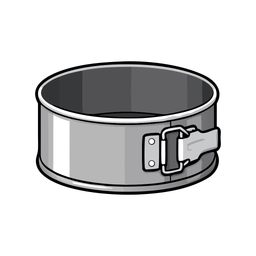 Forma do ciasta
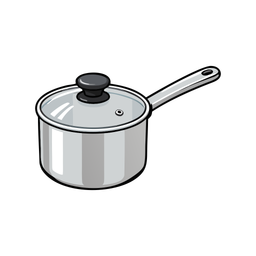 Rondel
 Sito
krok po kroku
Preheat the air fryer
Make the cake batter
Bake the cake
Cook the chocolate ganache
Finish the cake
najczęściej gotowane najpierw
1 godz.@yeastmode.ph
7 godz. 30 min@yeastmode.ph
2 godz. 30 min@yeastmode.ph
40 min@yeastmode.ph
45 min@yeastmode.ph
45 min@yeastmode.ph