
Skip to content
Honey Dak-Gang-Jeong (Korean Honey Fried Chicken)
Hauptgericht

Honey Dak-Gang-Jeong (Korean Honey Fried Chicken)

45 Min.Für 3Nutri-Score D€€
Rezept anpassen

was Sie brauchen

Zutaten

3 Personen
  • chicken thigh (cut into pieces)Fleisch750 g
  • rice cake (optional)Getreide150 g
  • all-purpose flourVorräte200 g
  • corn starchVorräte200 g
  • saltGewürze18 g
  • paprika powderGewürze7 g
  • garlic powderGewürze8 g
  • onion powderGewürze7 g
  • baking powderVorräte12 g
  • black pepper (ground)Gewürze2 g
  • cinnamon powderGewürze8 g
  • curry powder (optional)Gewürze7 g
  • waterAndere600 ml
  • honeyVorräte100 g
  • cheongyang pepper (seeds removed, sliced)Obst & Gemüse2 Stücke
  • garlic (minced)Obst & Gemüse15 g
  • soy sauceVorräte60 ml
  • oyster sauce (optional)Vorräte15 ml
  • frying oil (for deep frying)Vorräte1 Liter

pro Portion

Nährwerte

1.067kcal

Kohlenhydrate
133 g
Eiweiß
43 g
Fett
40 g
Utensilien anpassen

was Sie verwenden

Utensilien

  • Rührschüssel ×2
  • Kochtopf
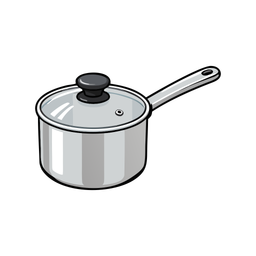
  • Stielkasserolle
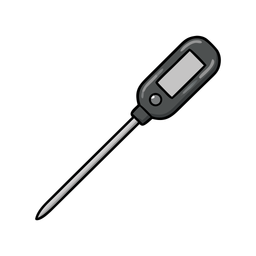
  • Küchenthermometer
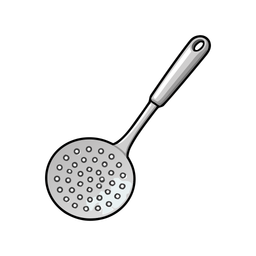
  • Schaumlöffel

Schritt für Schritt

Zubereitung

  1. Make the chicken powder coating

    • Combine the all-purpose flour, corn starch, salt, paprika powder, garlic powder, onion powder, baking powder, black pepper, cinnamon powder and curry powder in a bowl.
    Schritt 1
  2. Make the batter

    • Mix the chicken powder with the water until smooth.
    Schritt 2
  3. Coat the chicken

    • Add the chicken thigh pieces to the batter and mix to coat.
    • Put the remaining chicken powder in a container, add the battered chicken and shake to coat well.
    Schritt 3
  4. Fry the chicken

    • Heat the oil to 170 °C.
    • Fry the chicken until golden brown.
    Schritt 4
  5. Make the honey sauce

    • Combine the honey, cheongyang peppers, minced garlic, soy sauce, oyster sauce and water in a pan.
    • Boil until the sauce is reduced by half.
    Schritt 5
  6. Toss and finish

    • Toss the fried chicken and rice cake with the honey sauce until well coated.
    Schritt 6